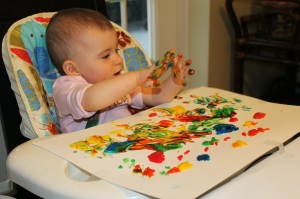
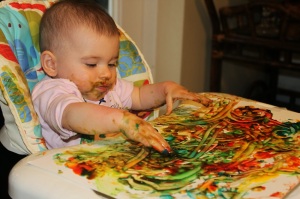
It’s getting close to Halloween and I haven’t yet blogged about our Halloween art! Excuse the bad pictures as today I am being lazy.
 This first one is a spider in a web. Incredibly simple, all the child does is put a black handprint on a piece of white paper. Then the adult draws the web, adds some google eyes and shades in around the web if you wish.
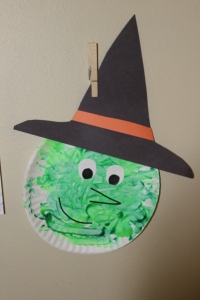 Witch: For this one we used a paper plate and I squirted a few shades of washable green paint on it. Everlyn finger painted it. While it dried I made the eyes out of white paper and black marker. The hat was cut out of black construction paper and I glued on a small orange strip. Once it was dry I glued on the eyes, drew the nose and mouth with black marker and used tape to attach the hat as I find it easier than gluing on the ribbed edges of the plate.
Pumpkin Patch: I painted each Everlyn’s hands orange and put them onto white paper. Once it was dry I just used marker to draw some leaves on top, grass on the bottom and jack-o-lantern faces. Easy as pumpkin pie.
 Ghost: I cut out a ghost shape on white paper and used a paint brush to brush elmers glue all over it (the cotton balls stick to elmers better than a glue stick). I gave Everlyn a pile of cotton balls and let her stick them wherever she wanted on the paper. I cut out black eyes and mouth from construction paper and glued those onto the cotton balls.
 Pumpkin: We used a paper plate and I let Everlyn finger paint with orange all over it. I used construction paper to make the stem and vine. You can also cut out jack-o-lantern eyes, nose and mouth and let the child glue them wherever they want on the pumpkin.
 Witches: I think these footprint witches are my favorite. I painted Everlyns feet green, and placed them onto white paper. When they were dry I just drew feet, arms, faces, hats and brooms with marker.
These are all the ones we’ve done so far this year, I am planning on doing some more next week, the week of Halloween. But I will also share the art we made last year for Halloween.
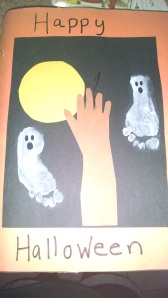 This is one we made last year with ghost footprints and a handprint tree. I traced her hand and up her arm on brown paper and cut it out to look like a tree. I glued that onto black construction paper. On a separate sheet of black paper I put her footprints covered in white paint. I cut those out and glued them onto the other black paper. Because she was so young and wiggled a lot doing art, I used the separate paper, older kids could probably do it on the same paper. Yellow construction paper made a moon and you have a Halloween night.
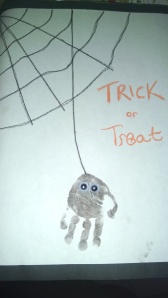 This is similar to the one we did this year just a small variation. Instead of the spider being in the web, it is hanging from it. You can’t even tell from these pictures but her handprint was so tiny!!
I will try to post the rest of our projects next week!

